How To Create A Bootable Installation USB For Mac OS 10.8 Mountain Lion
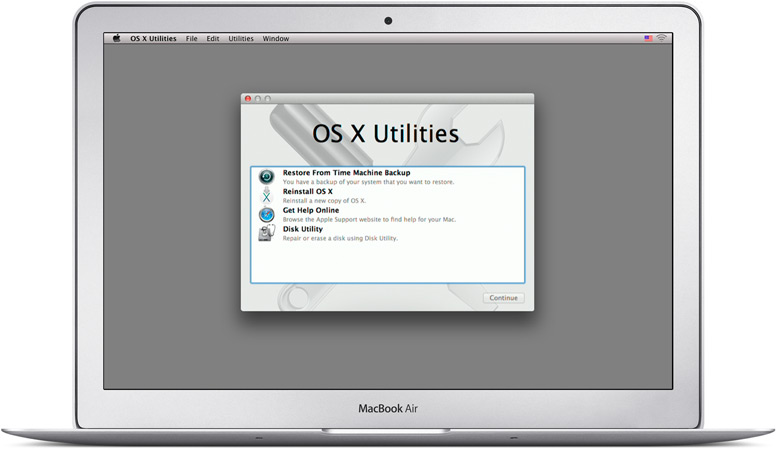
Ever since Mac OS 10.7 Lion (2011), Apple has stopped shipping Restore DVDs with their Mac computers. Opting instead to rely on their Restore firmware (a.k.a. Internet Recovery) that is encoded onto every Mac’s logic board – which unfortunately requires an internet connection for any restore to be performed.
For Mac OS X updates, apple sells/pushes it through the App Store application that is built into every subsequent Mac OS X thereafter.
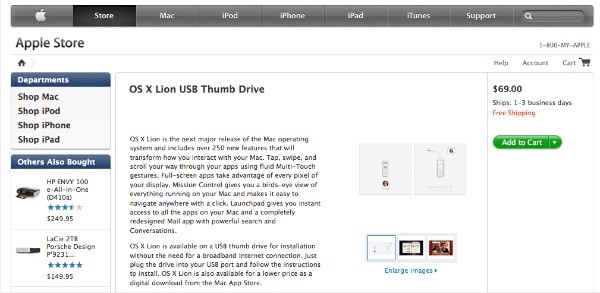
There was a brief transition period where Apple did offer the option to purchase Mac OS 10.7 Lion on a USB thumbdrive for USD69.00 but that went away quickly and left us with only the Restore Firmware and the App Store.
This not only leaves hardcore old school Mac aficionados gritting their teeth but also a very real challenge when it comes to having to restore your Mac in places where there is no internet connection or the internet connection is as fast as a drizzle.
Added to that, much like Apple’s iOS platform Apple also decided to require Macs to connect with Apple’s servers every time you perform a restore. This comes with a subliminal check that ensured that you cannot restore to earlier versions of Mac OS that Apple does not want you to revert to, much like how Apple has implemented a similar mechanism into iOS as well.
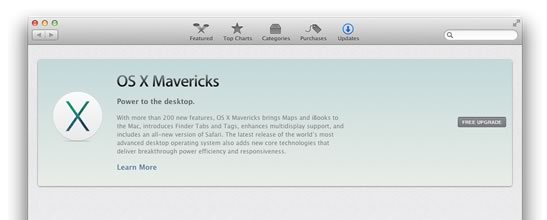
So, if you have say, unwittingly been enticed to click on the “Free Upgrade” button in the App Store when Apple launched Mac OS 10.9 Mavericks as a free upgrade. Only to decide later that you can’t live with it and would like to revert to Mac OS 10.8 Mountain Lion, you would be in for a rude shock to realise that if you attempt a Restore, the option to revert to Mountain Lion is unavailable.
It appears, unfortunately, Apple’s latest tactic to ensure that all its ‘faithful’ followers move forward and never back is to control the availability and deployment of its iOS and Mac OS platforms.
This tutorial is created for those of us who either maintain the rebelliousness of Steve Jobs or have internet connections as impressive as drizzle to be able to restore to Mac OS 10.8 Mountain Lion on demand from a USB installer, be it a thumb drive or an external hard drive.
Note: before you read on, the following Bootable Installation USB creation process only works for Mac OS 10.8 Mountain Lion; creating a bootable Installation USB for Mac OS 10.9 Mavericks requires a slightly different process.
Creating Mac OS 10.8 Mountain Lion Bootable Installation USB
The following, details how to create a Bootable Installation USB for Mac OS 10.8 to facilitate quick installs without an internet connection:
- Check Apple’s System Requirements for Mac OS 10.8 Mountain Lion to ensure that your Mac meets the minimum otherwise Mountain Lion will refuse to install;
- Format the USB device you want to create the Bootable Installation USB using Mac OS X Extended (Journaled) formatting;
- Obtain a copy of Mac OS 10.8 Mountain Lion – most commonly acquired on the day Mountain Lion was released on the App Store for purchase, otherwise you will have get creative in sourcing a copy;
- Upon purchasing Mac OS 10.8 Mountain Lion, find the Installer on your Mac – it is called “Install MacOSX Mountain Lion.app” and it should have been downloaded to your Applications folder;
- Right click the “Install OS X Mountain Lion.app” icon and select “Show Package Contents”;
- Open Contents > Shared Support > InstallESD.dmg – this will mount InstallESD.dmg image volume in the Finder;
- The mounted volume is called “Mac OS X Install ESD”;
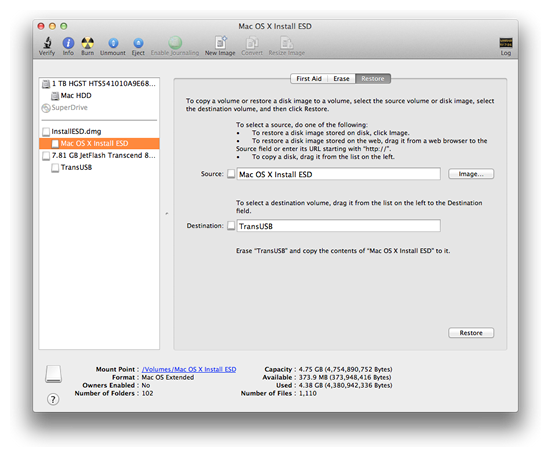
- Launch Disk Utility (/Applications/Utilities/Disk Utility);
- On the sidebar (left side) of Disk Utility you should see InstallESD.dmg with Mac OS X Install ESD below it;
- Select InstallESD.dmg and click “Restore”;
- Drag Mac OS X Install ESD icon into the Source field on the right (if it isn’t already there)and;
- Connect the USB device you want to create your Bootable Installation USB to;
- In Disk Utility find this destination drive in the sidebar and drag this destination drive’s icon into the Target field on the right (if the destination drive has multiple partitions, just drag the icon of the partition you wish to use);
- Warning – this next stage erases all contents from the destination drive so ensure it does not contain any valuable data and also double check that you have allocated the Source and Destination drives correctly;
- Click “Restore”, and then “Erase” in the dialog box that appears and enter an admin username and password if prompted;
- Quit Disk Utility upon completion and eject the USB device.
Booting From USB Installation Device
Now that you have your Bootable Installation USB, there are generally two ways to restore from this device.
Scenario 1: You have an existing working Mac OS X and what to restore to Mac OS 10.8 Mountain Lion
- Boot into Mac OS X;
- Connect USB device;
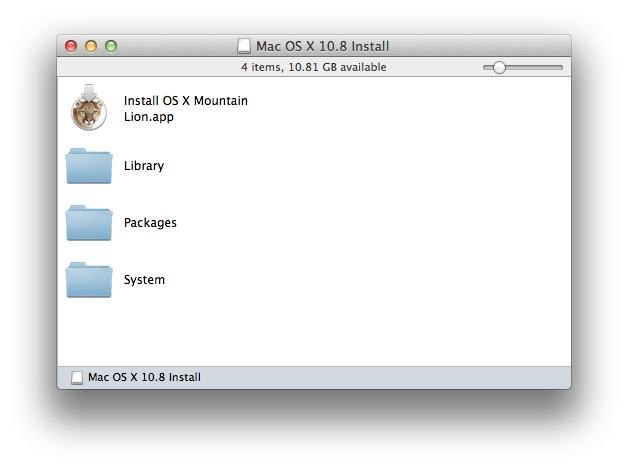
- Upon connect the USB device should mount automatically and unpack the Mac OS 10.8 Mountain Lion installer by popping a new Finder window with the Installer’s contents displayed;
- Double click “Install Mac OS X Mountain Lion.app” and follow the onscreen instructions.
Scenario 2: There is no existing Mac OS on your Mac’s hard drive (replaced new hard drive)
- Connect your USB device to your powered down Mac;
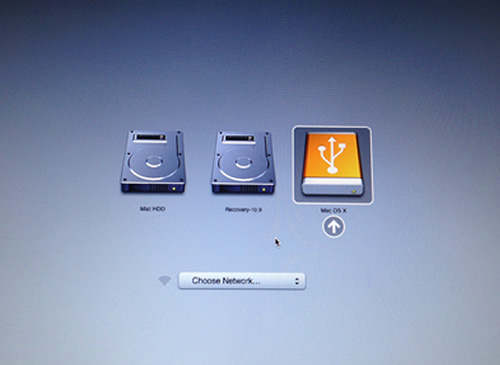
- Hold the Option key and power on your Mac;
- You will be greeted by a boot screen displaying all bootable devices;
- Click on the Mac OS X USB hard drive icon to startup your Mac using the Mac OS 10.8 Mountain Lion Installer;
- Once the Installer completes booting up, if your hard drive is empty/unformatted, click on “Disk Utility” in the top menu and use Disk Utility to format your hard drive using the Mac OS X Extended (Journaled) format;
- Quit Disk Utility and resume the installation process by following the instructions


